Chapter 2 - The Roof
The right way to start any major whole house project is to start from the outside and from the top
down. That means first assess the condition of the roof and then work from the outside in. That was the first step.
As mentioned earlier, when the strong winds would hammer the house from time to time, there were always shingles
on the ground. That was the first clue that the roof had issues. Closer inspection revealed two layers of asphalt roofing
over the original 1897 wood shingle roof. The original wood shingle roof was in bad condition and when the asphalt shingles
were installed over it, the nails would not hold. That's why the shingles would blow off from time to time. Wood shingle
roofs were usually lapped over long boards placed several inches apart. The separation of the underlying boards allowed for
the roof to dry when wet and provided ventilation for the undersurface. Over the years, when wood is covered by these non
porous roofing systems, the wood suffocates and rots. So in many places the nails were useless.
In
situations like this the only right thing to do is to strip the roof right down to the frame and apply a plywood skin before
new shingles can be applied. The plywood is necessary to have a continuous solid surface for nailing. Victorian houses
have complex roofs in terms of their shapes and usually require a lot of plywood due to waste when cutting. For this house
135 sheets (4'x8') were used. That's a lot of plywood!
Next there are many options
for roofing available, so sometimes its difficult to make a decision. Building codes may limit some options, but there is
always a lot of choice.
A style in keeping with the character of the house was selected.
In addition due to the wind factor, it was determined that a stronger shingle would be a prudent investment. Ultimately Certainteed
lifetime shingles were selected. These are double the thickness of standard asphalt shingles and are designed to withstand
higher winds.
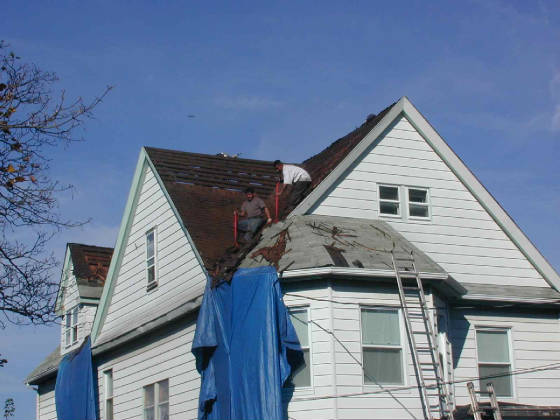
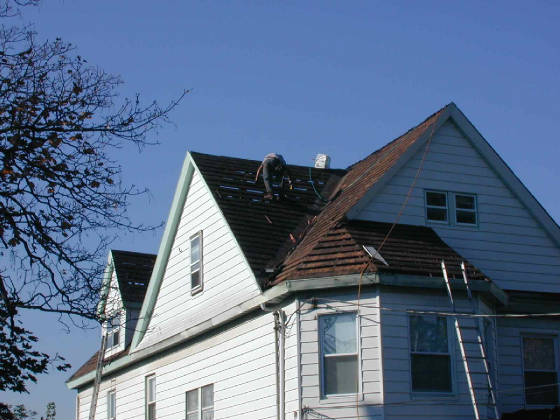
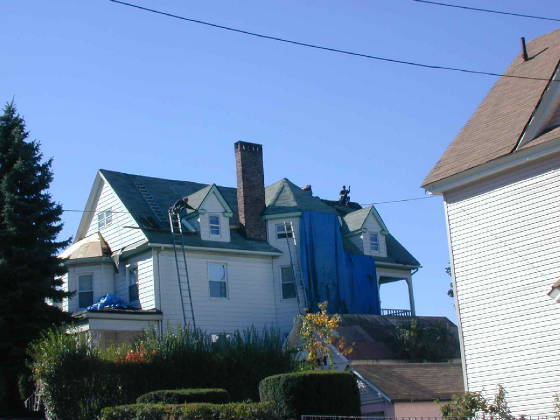
Here are some photos of the shingles coming off and the new roof taking shape.
Peeling off the 3 roofs
Notice you can see sky through the house.....
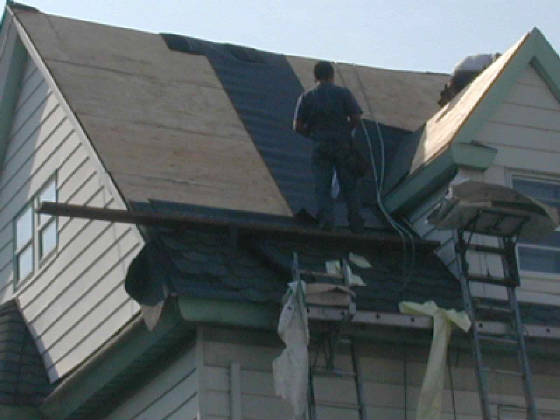
Adding the plywood.....
Beginning to lay the new roof
Laying the new roof.
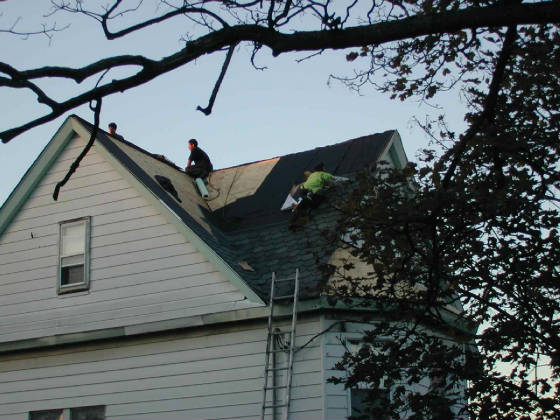
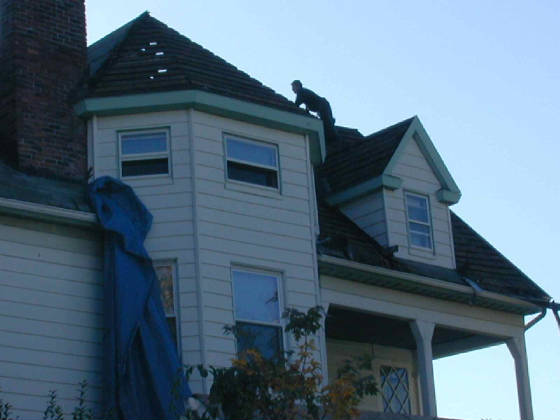
Starting to remove the roofs on the North side
I have a lot of respect for the roofers.